Whimsical fun. Fake kintsugi for crazy broken pieces. Truly a gas! Perhaps I should make up a new name for this technique. People serious about restoration or conservation should really read no farther!
I try to talk hipsters out of getting the famous 'gold' repairs known as kintsugi, because I do not think that deviations from the traditional Japanese methods of doing these repairs are at all proper - and actually inappropriate.
Cashew pastes, clay, lacquer and precious materials are used in time-honoured ways in the original method. Also only artifacts that were worthy of preservation or that would be enhanced by the emphasizing of the breaks were really addressed in this manner.
There are some good pages online - try searching on the word kintsugi and have a good read. Here's one - https://anagamablog.com/2011/02/28/kintsugi-%E9%87%91%E7%B6%99-restoration-for-pottery/
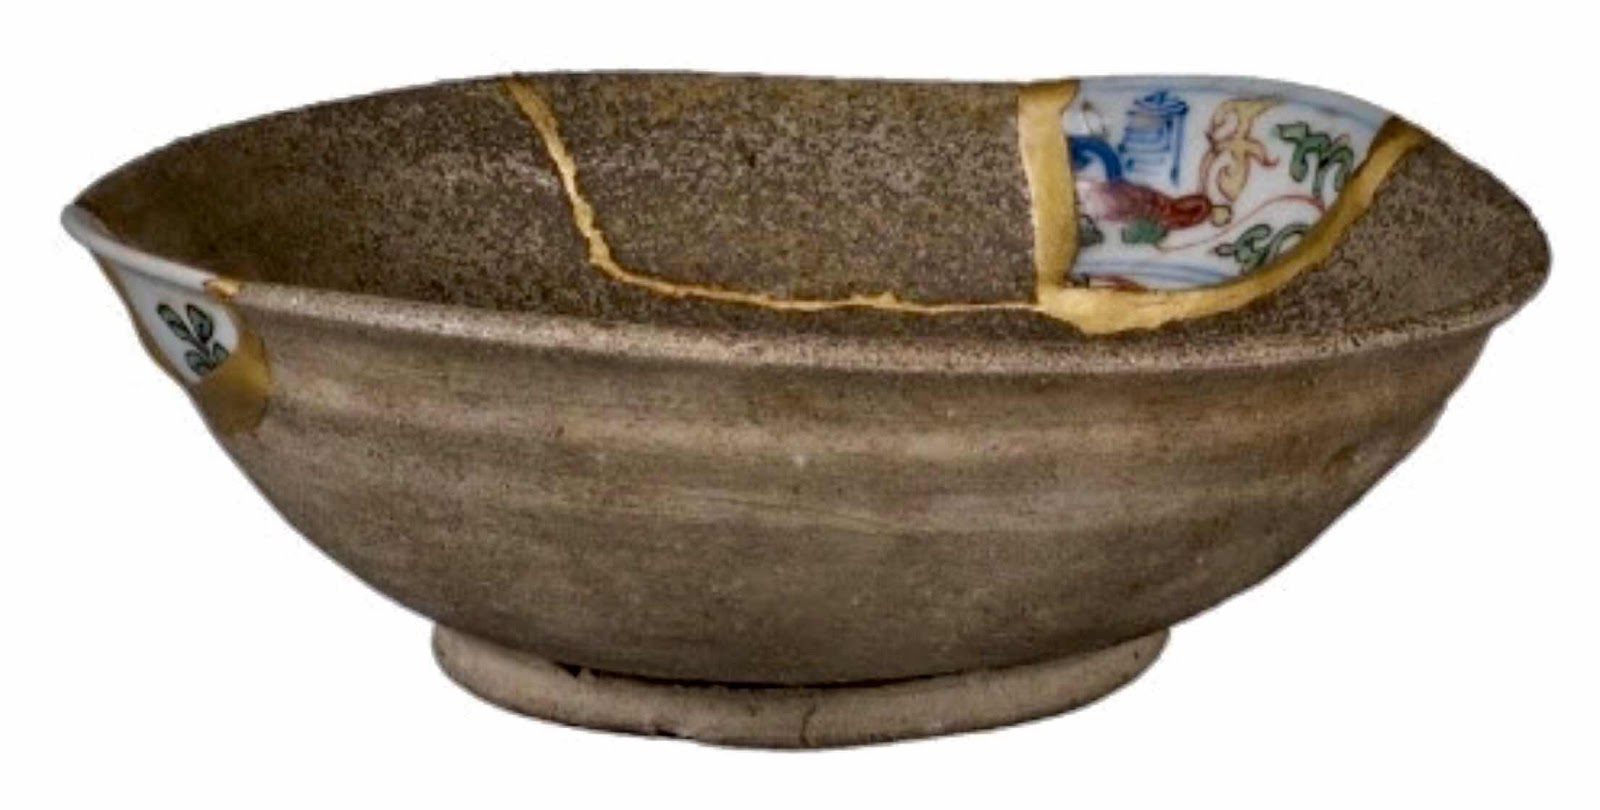
A lovely picture I saved years ago, so I do not have the photographer's name. I like the insertion of completely different ceramic fragments.
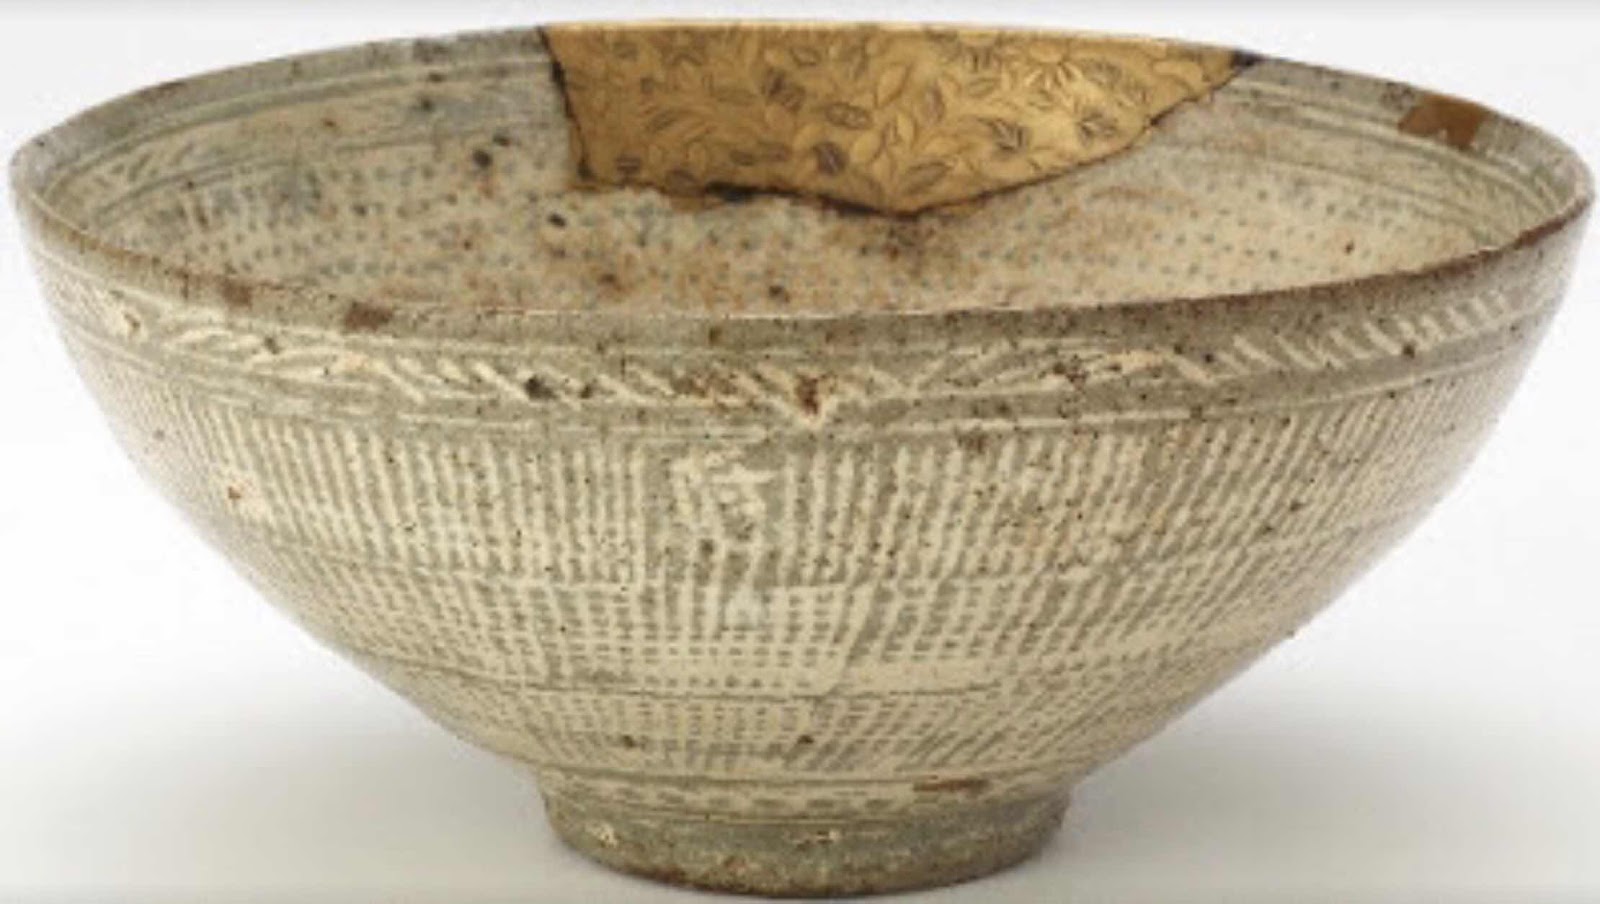
A lovely example of texturing - also an unattributed picture, sorry.
Heritage chawan and wagashi bowls have risen to aesthetic heights with the application of kintsugi - but your Auntie's Crown Derby should probably be repaired in a different manner. Multiple breaks quite often don’t 'read' well. Here's a very messy looking B&W bowl with filled staple holes and really shattered material. Dog's breakfast. Yeah, this was me - when I didn’t know any better.

I tried texturing a small chip in a 20thC Chinatown teabowl on a whim for a client, and I pronounced it 'not bad'. I made the fill of the chip higher than normal and pressed laundry netting into it. Ha! But I wouldn’t aspire to calling this kintsugi.
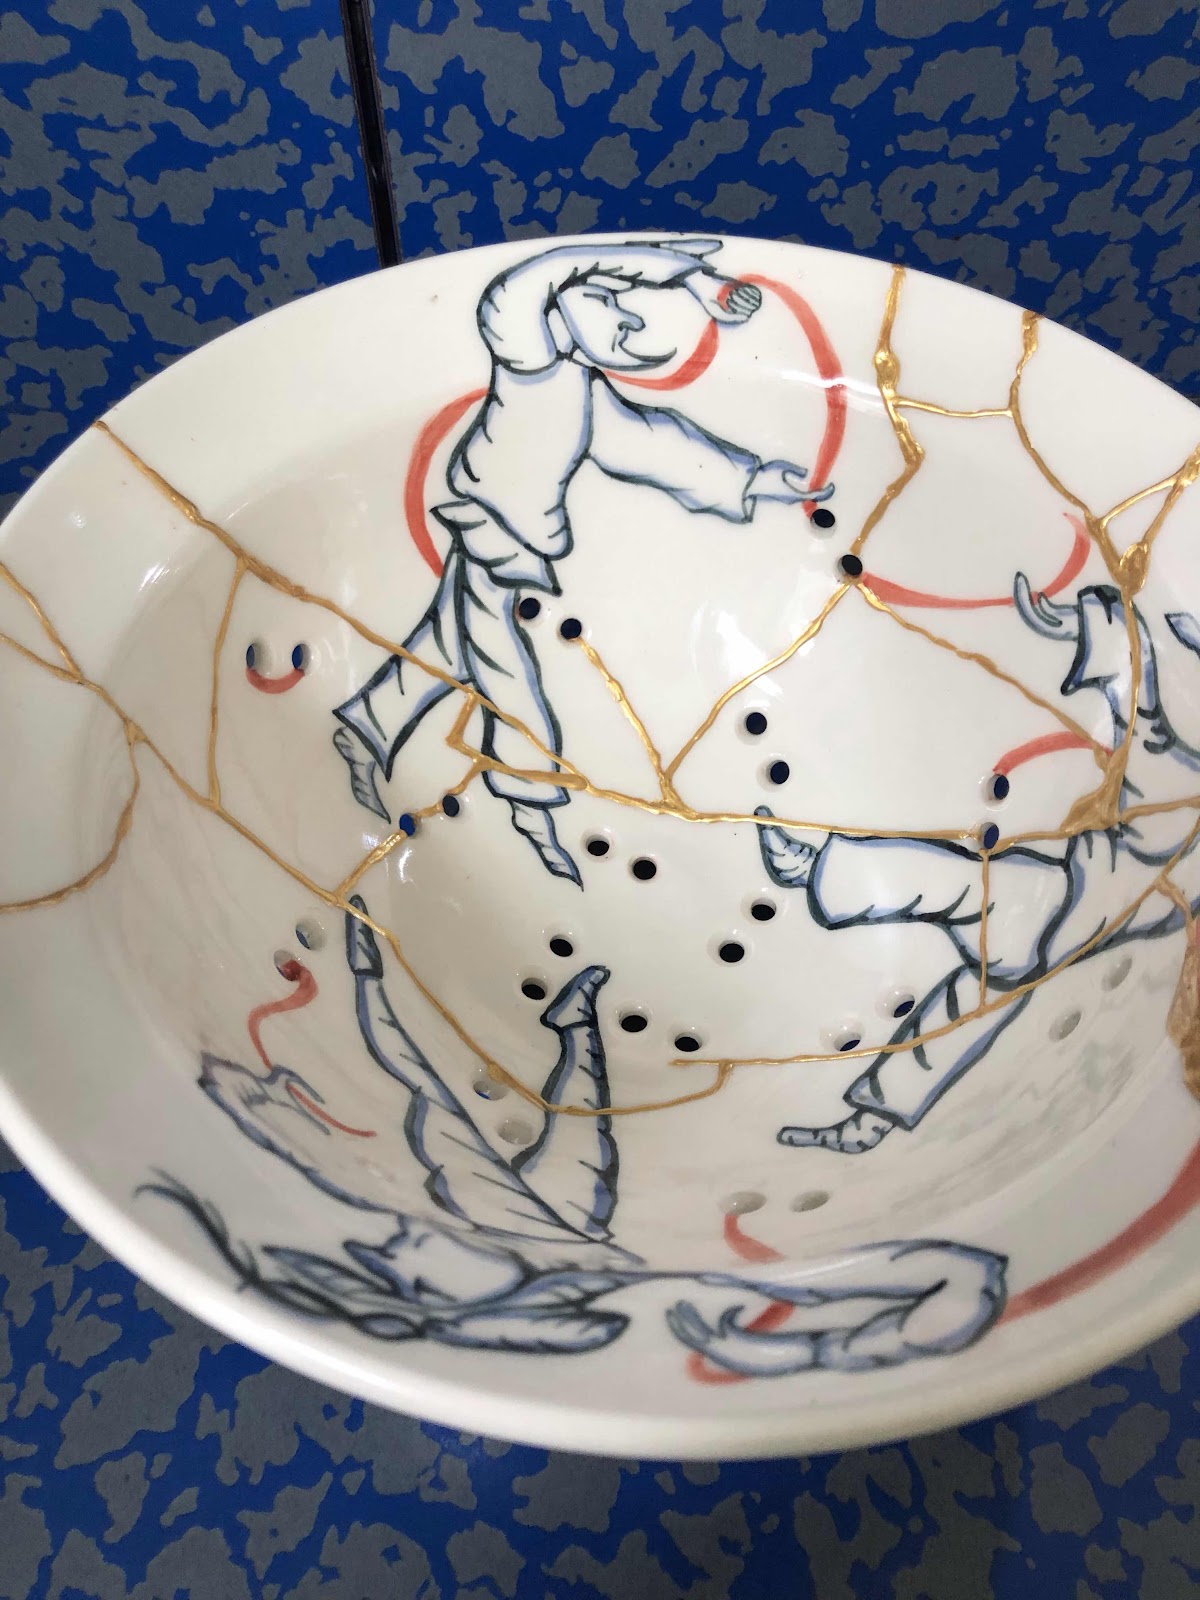
But here I am having some fun experimenting with a tremendously smashed up Kate Hyde/Thomas Aiken strawberry bowl. (gee, thanks Richard, for being so remiss while performing maid duties)
So, how was it done?
After a routine reassembling of all the fragments and filling missing material with epoxy clay, I finally found a 'paint' at a crafting store that was supposed to form a hard bead of acrylic - to loosely imitate 'leading' of a stained glass, so to speak (doesn’t look at all like it, but you know what I mean).
It came in a zillion colours including many metallics and indeed dried quickly into a satisfying bead. The only drawback was trying to apply it directly from a squeeze tube. This was especially difficult to do on larger chips. As you can see, I chose a very high, bright gold - which I thought appropriate with the whimsical Kate Hyde piece.
Edges could be taken down and formed a little with a brush while wet, and surfaces cleaned with an Exacto blade dry.
Next project, I should repair in lime green or pink! Yay! So...not bad?
